Building chatbots
The scenario
Set the unit code, student-facing title and activity instructions
The scenario section has three fields. The unit code helps staff organise chatbots. The title and student instructions appear on the activity’s start screen.
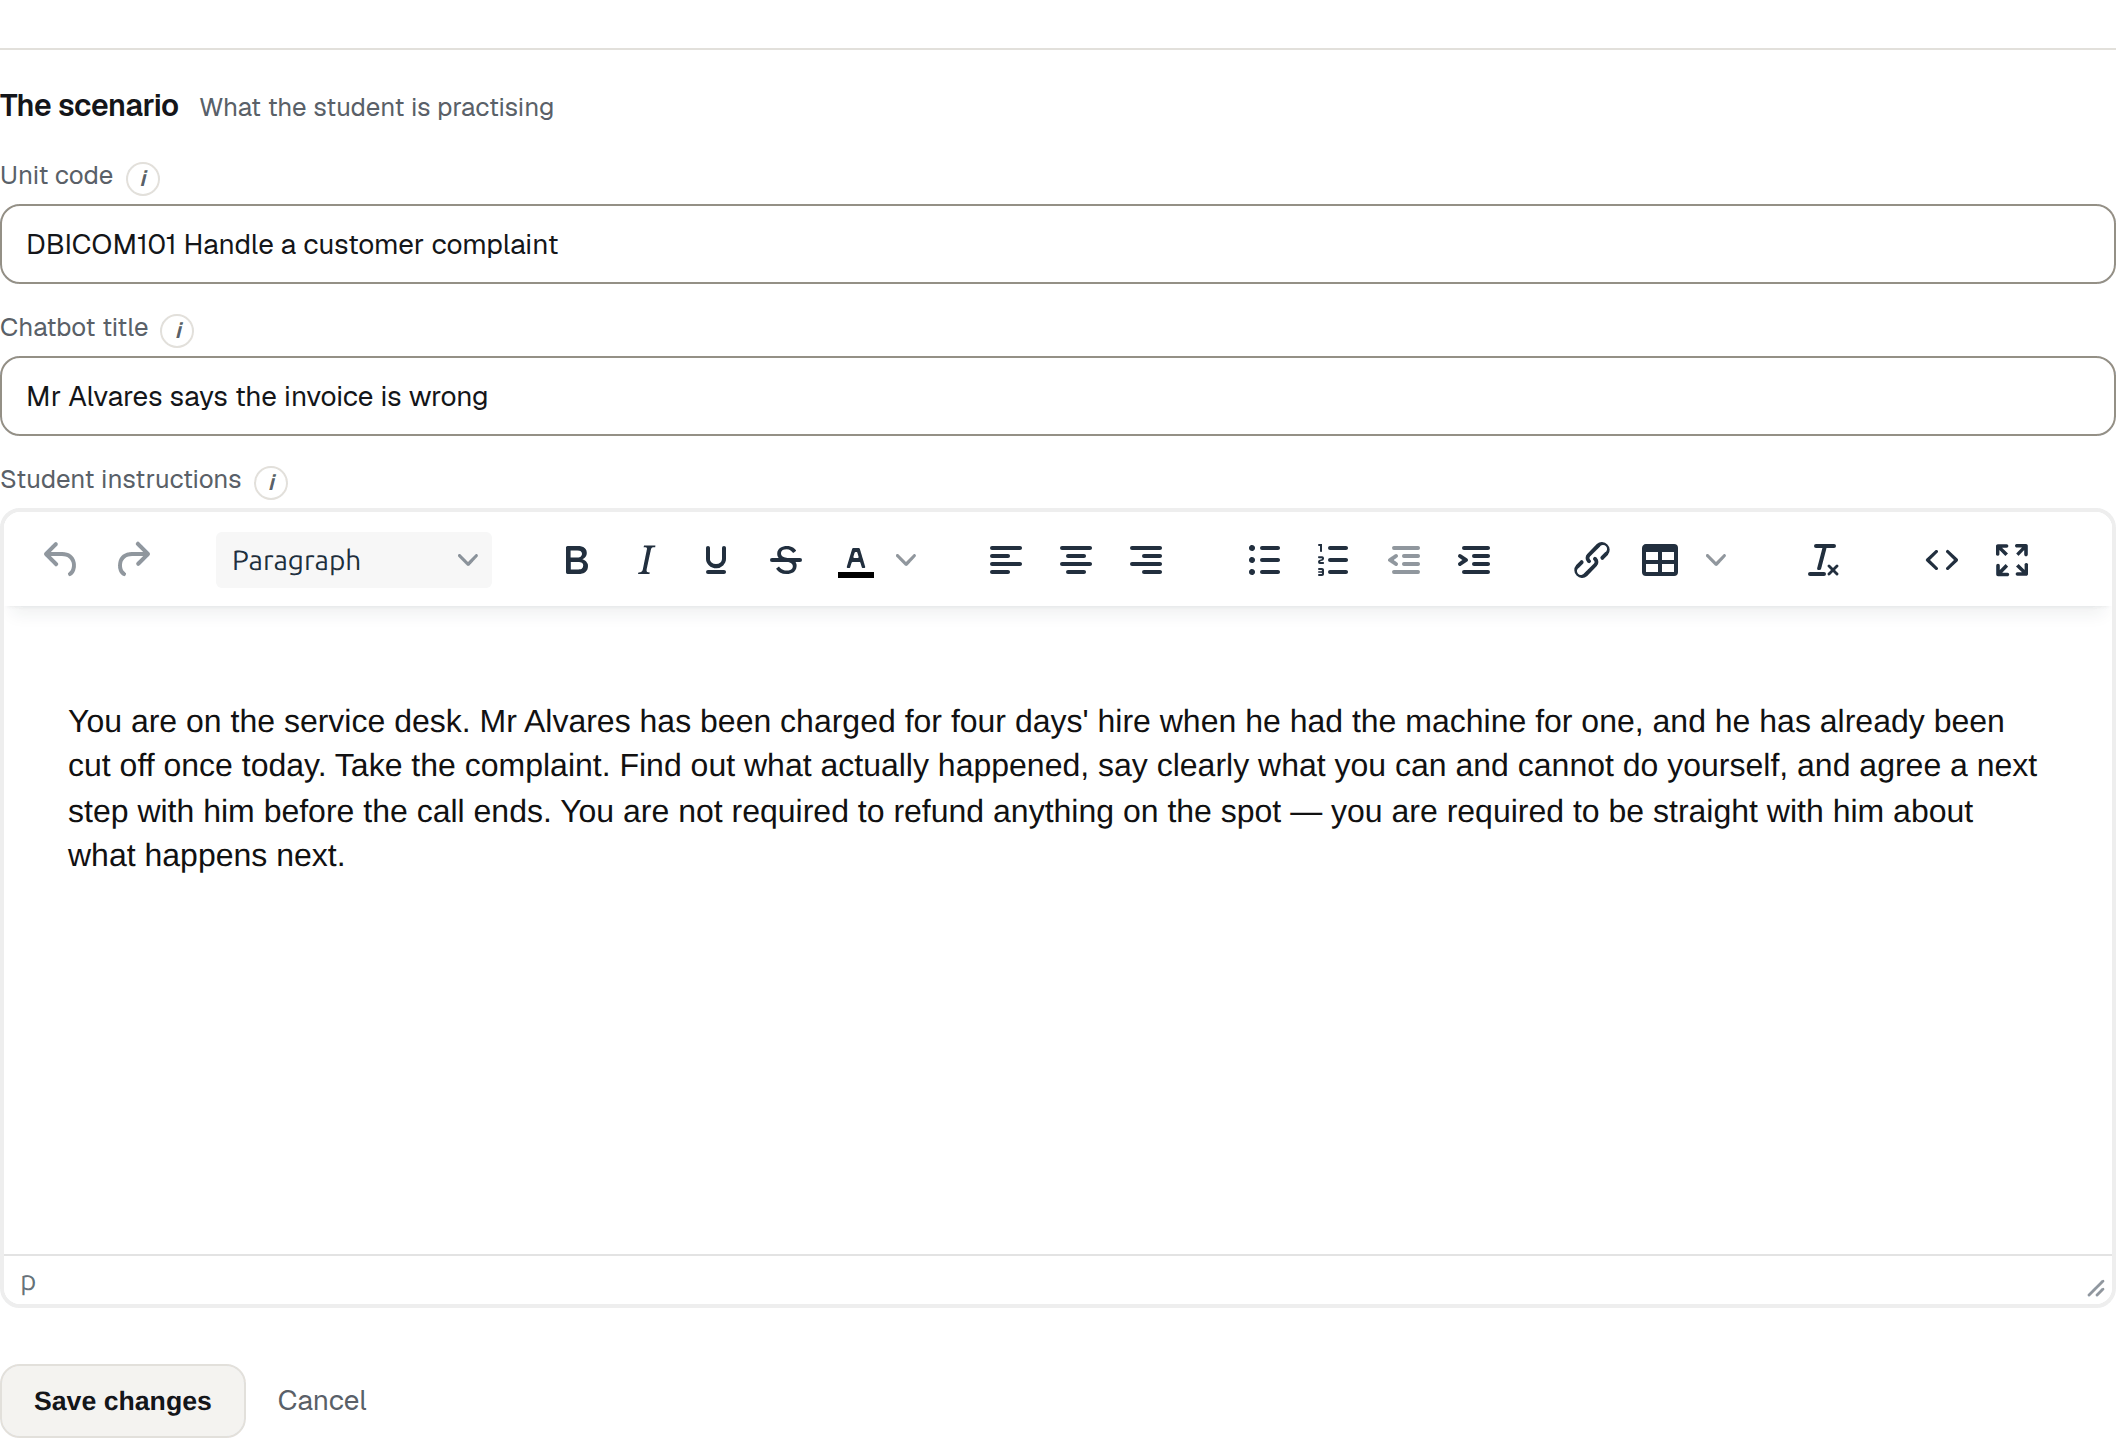
Unit code
Your organisation’s code for the unit this belongs to, such as CHCDIV001. It is only used to group and search chatbots on your dashboard — students never see it.
It is required, and it is what keeps a dashboard of forty chatbots usable a year from now. Use the code your organisation actually files things under.
Note
The code is free text. Nothing checks it against a training package, and nothing stops two chatbots sharing one. The Unit code filter on the dashboard matches anywhere in the field, so CARE finds every DBICARE… chatbot at once.
Chatbot title
The heading a student sees above the conversation. Name the situation rather than the technology: Supporting Lydia with her breakfast tells a student what they are about to practise; Aged care bot 3 does not.
The title is required, it is what shows on the dashboard, and it is what the student reads at the top of the activity. It is also what a copy is named after, so a template with a vague title produces a class set of vaguely named copies.
Duplicating a chatbot adds ” (copy)” to the title for you. Change it before you create — two rows called Handling a complaint (copy) are no easier to tell apart than two called Handling a complaint.
Student instructions
This is the main briefing shown before the conversation starts. Include the task, anything the student must do at the start, and how the activity will be assessed. The screen also shows the chatbot title, activity facts and, when configured, the character’s opening line.
The character is now told what you wrote here, clearly marked as the brief the student was given rather than as instructions to itself. That stops it asking them for things they were already handed — the situation, their role, who they are speaking to. It is also given to the model that writes the end-of-conversation feedback.
The character is told never to take on the role these instructions give the student, and that anything they name as a task or a marking criterion is the student’s to do — so it will not do it for them, steer them toward it, or let on that it knows. Even so, put facts the character needs in the role prompt: this field is written to the student, and it reads that way. See Behaviour and the role prompt.
Writing them
The field is a rich-text editor: headings, bold, lists, links and tables. Keep it short enough to read standing up. A briefing that works has four parts:
- The situation. Who they are about to speak to and why.
- The task. What they have to achieve in the conversation.
- Anything they must do at the start. Introducing themselves by name and role is the usual one, and it is also the criterion teachers most often forget to warn students about.
- How it will be marked. If a rubric is attached, say so, and say whether the conversation is practice or assessment.
For an assessed activity, make sure these instructions cover every criterion in the rubric. See Additional settings.
Note
Students can adjust text size and contrast for themselves on the activity screen, and everything the character says is shown as text as well as spoken. You do not need to duplicate any of that in the instructions. See Accessibility.
If it will not save
Write the instructions the student reads before they start. The field is required and the rich-text editor is reporting itself as empty. A briefing made only of an image or an empty heading counts as empty; type at least a sentence.
Where these fields appear elsewhere
- The title and the unit code are the two fields a standard teacher can change on their own copy, through Rename.
- The edit overview summarises the student instructions by length — 184 words, or Not set — rather than showing them. Open the section to read them.
- When one chatbot is linked to one LMS activity, opening that activity syncs its name. A unit code found in the course shortname, course name or activity name is also synced. Templates and chatbots linked to more than one activity are not renamed this way.